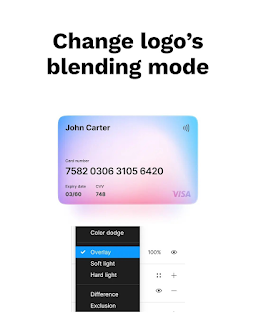
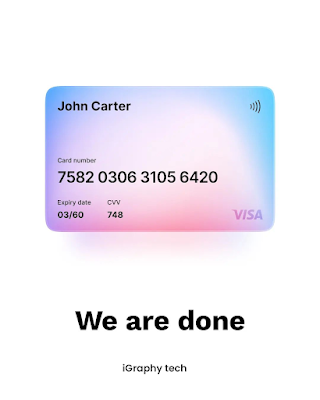
How to create design card in figma step by step guide
Step 3: Apply background color and/or gradient fills to these shapes to add visual interest.
I am using mesh gradients from link
Step 4: Add stroke value is color #FFFFFF and opacity is 10% and weight is 4px.
Step 5:Use the "Text" tool to add text elements to the card, such as a title, subtitle, and body copy. Customize the typography by adjusting font family, size, color, and alignment.
Step 6: Use the "Vector" tool to create icons or other graphic elements to add to your card design.
Step 8: To make the design responsive, you can use constraints to define how elements should behave when the frame is resized.
Finally, you can add interactions to your card by using the "Prototype" feature in Figma. For example, you can create links between frames to create a simple click-through prototype.
Test your design by previewing it in Figma's "Preview" mode.
Note: These steps are just a general guide and the specifics of your card design will vary depending on your needs. You can find many tutorials online to learn more about creating design in Figma.


